How to Make a Graphic Design Using Photoshop
Adobe Photoshop is one of the most powerful tools used by all graphic designers. It is used mainly for image manipulation, retouching and adjustments, and we are excited to share our 7 go-to techniques to help you enhance your skills as a designer.
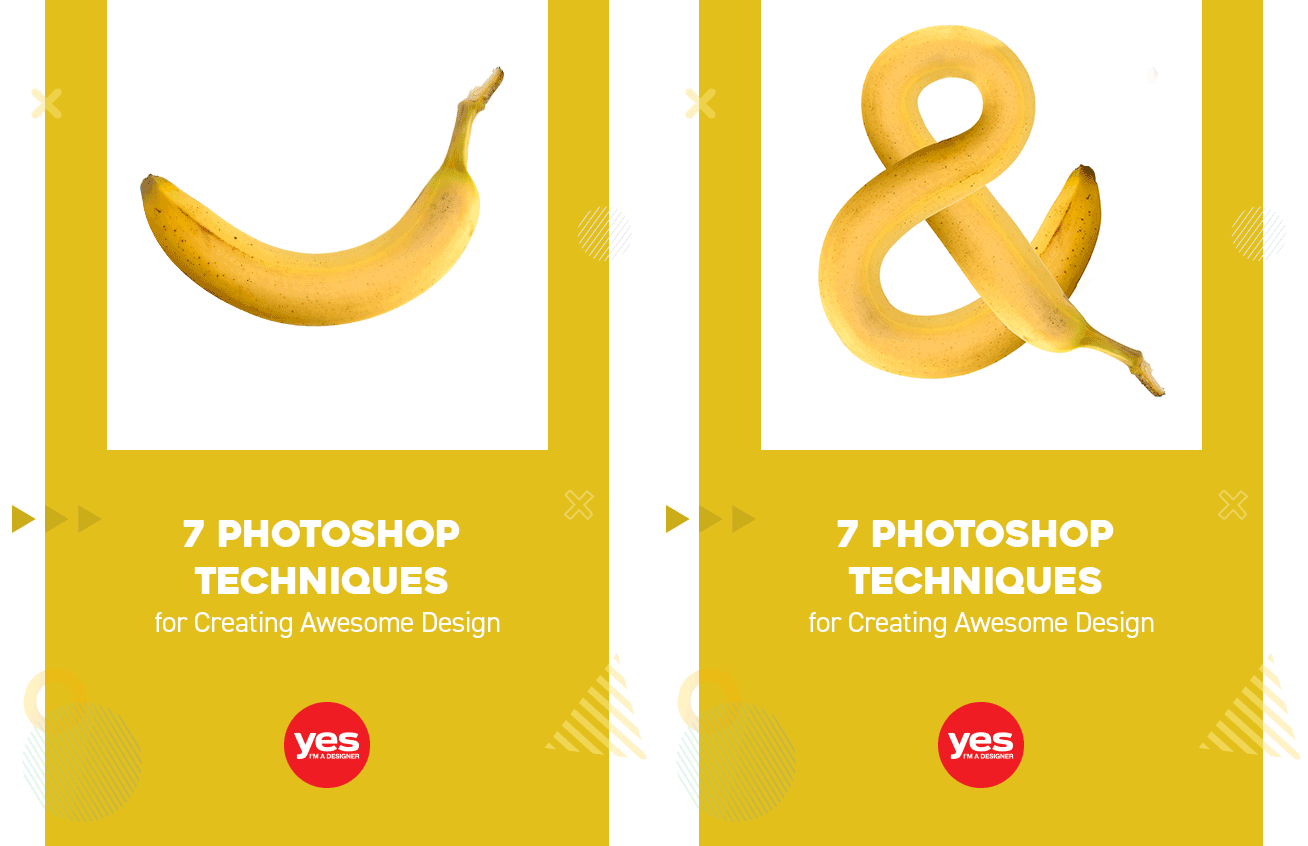
1. Work in Smart Objects/filters
Smart Objects are layers in Photoshop which contain and preserve data from images you have imported. They allow you to make non-destructive changes to an image.
With Smart Objects, you are never at risk of ruining the quality of an image or making a permanent change that cannot be deleted.
Here is a guide to Smart Objects in Photoshop.
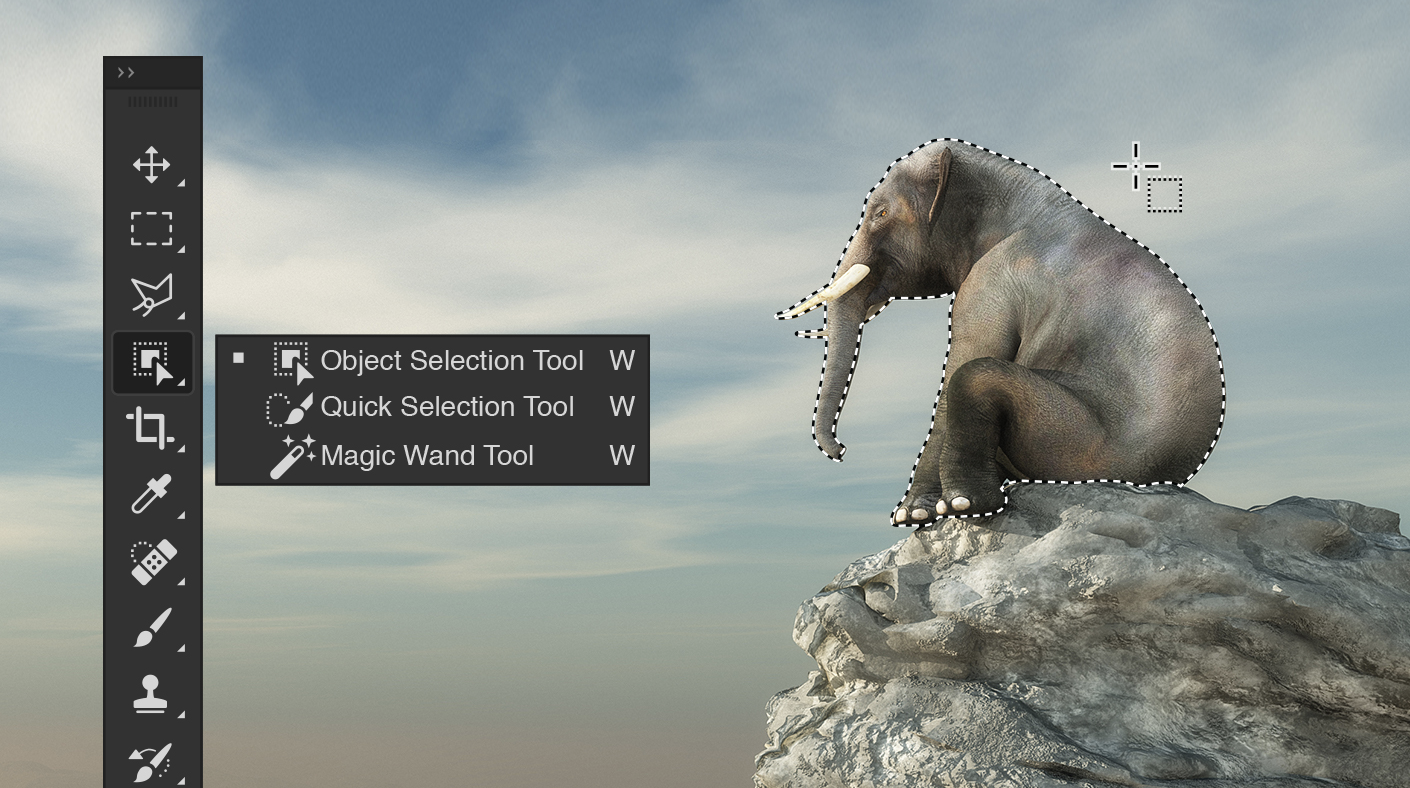
2. Object Selection Tool (Keyboard Shortcut: W)
This new smart selection tool, powered by Adobe Sensei artificial-intelligence is a brilliant feature that will save a lot of time making selections. It has two modes: Lasso and Rectangle. Both work similarly to the familiar selection tools, but with the difference that the selection boundary quickly adjusts itself to the subject inside the selection.
Watch the full tutorial on Object Selection Tool here.
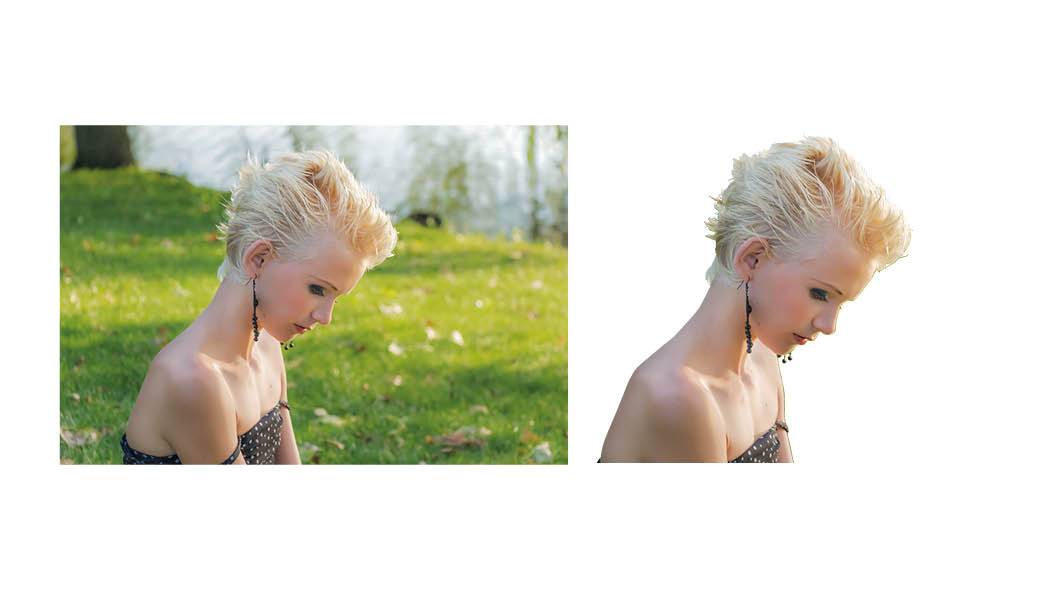
3. Masking
Masking is a fundamental skill for all designers to learn. Essentially it allows you to show or hide details in an image.
This is very useful if you want to pick out specific areas, details, people or objects, as you can quite literally hide everything else around that area. A full tutorial and guide on Masking can be found here!
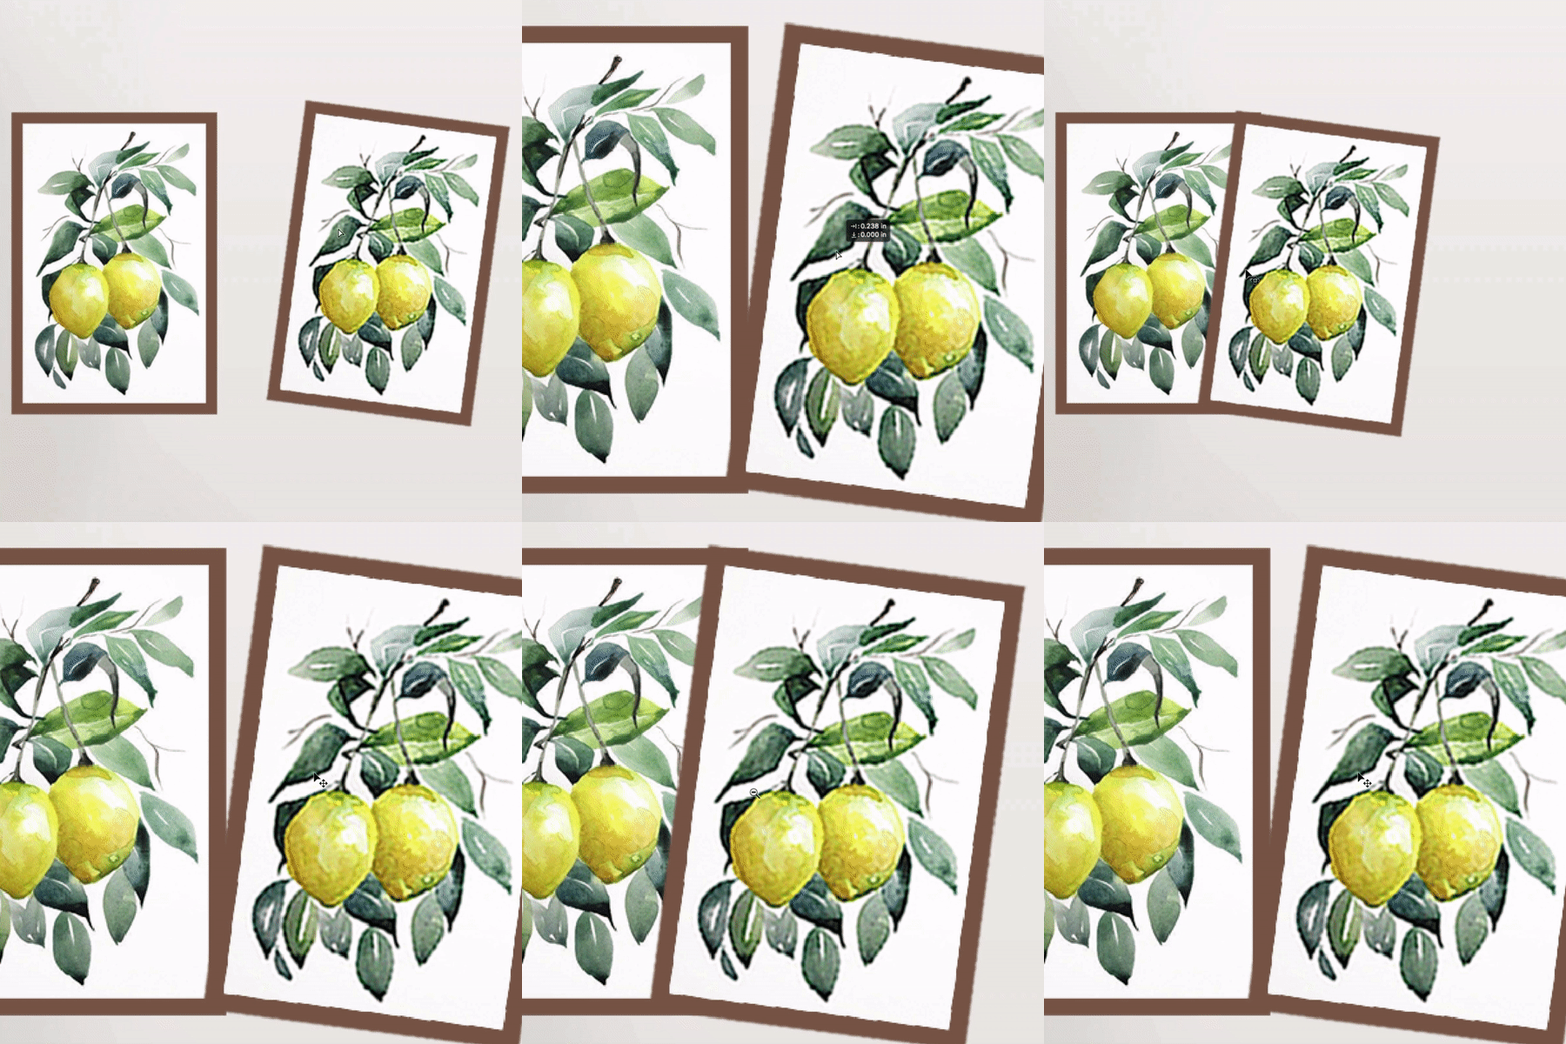
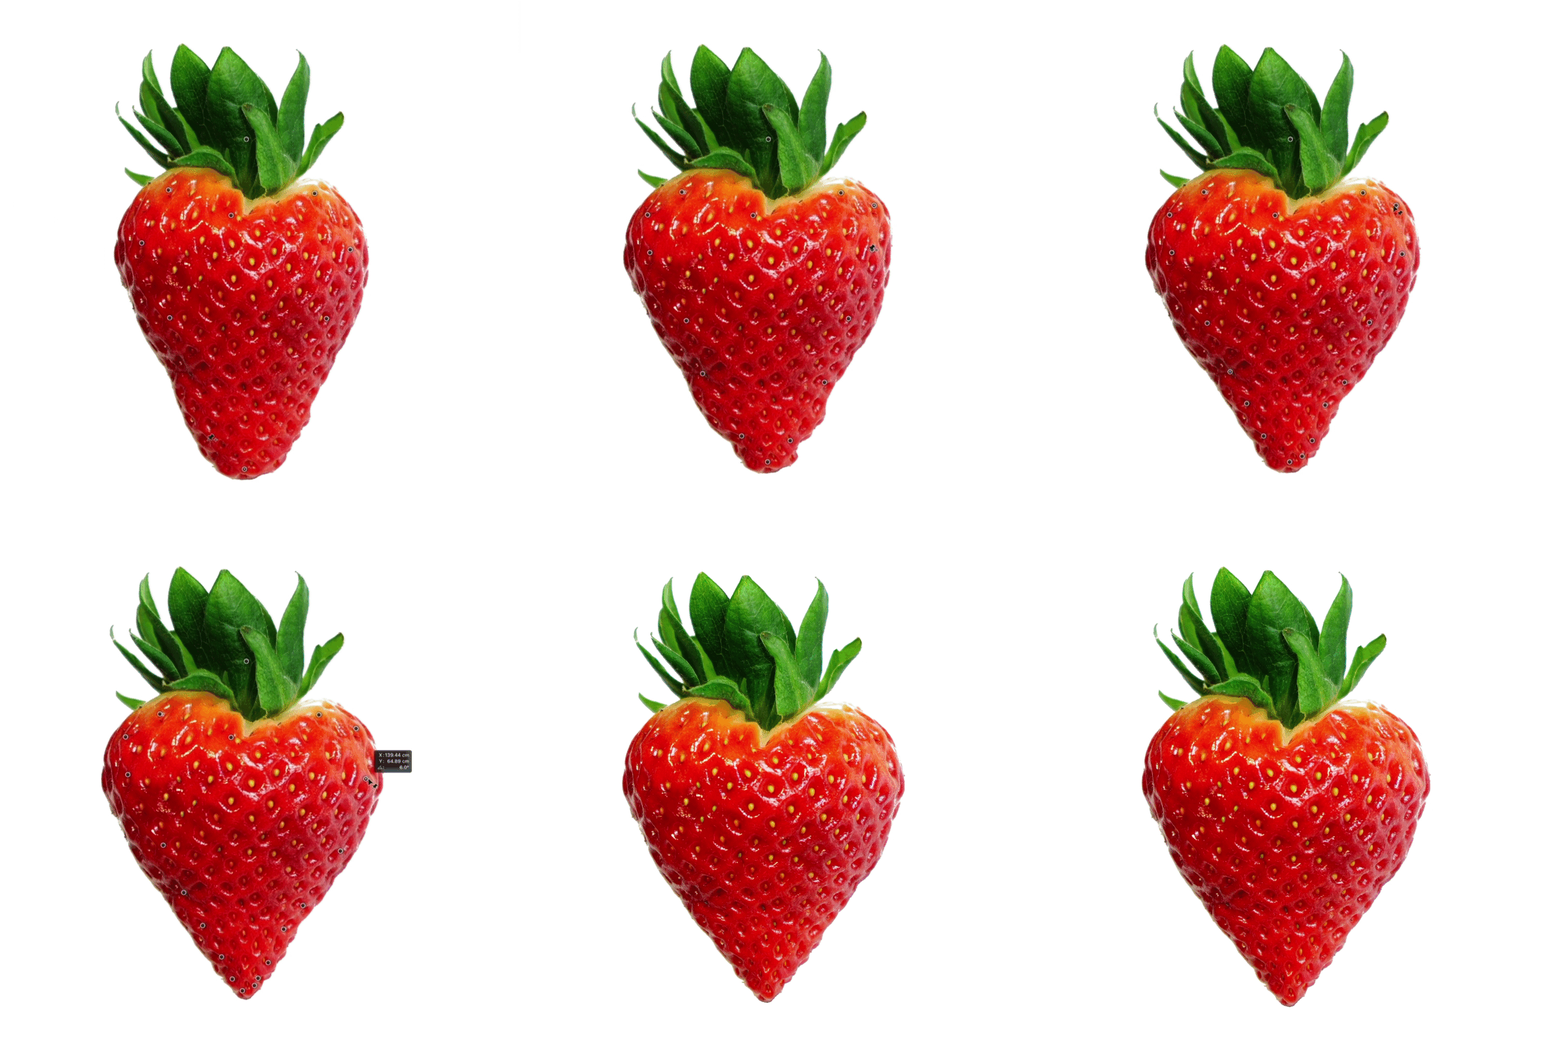
4. Puppet Warp (Edit Menu)
One of the most underestimated tools in Photoshop has to be the Puppet Warp. We hardly see it mentioned in tutorials and yet we use it pretty much all the time in all kinds of workflows.
You can find the Puppet Warp from the Edit menu.
This super tool allows you to add 'pins' to areas you want to transform. It can easily bend, rotate and shape parts of your image as if it were a 'puppet'.
Puppet Warp Overview
- Convert the layer to Smart Object before
applying Puppet Warp. - Add pin points close to the edge but
not on the edge of an object. - Easier to move bigger areas down.
- You can Rotate details around pin points.
- You can work on the Photoshop canvas.
- You cannot use the Warp Tool once
Puppet Warp is applied.
5. Liquify Tool (From Filter menu)
Another favourite tool is the Liquify Tool for distortion. It's really popular with designers especially for image retouching and manipulation projects.
Liquify Overview
- Best to use Liquify as Smart filter.
- A great tool to distort and warp Objects,
Images and Illustrations. - Opens a separate window outside of your
canvas which can be a disadvantage. - The face-aware feature allows you to transform
your portraits easily. - You can continue to use the Warp Tool
in Free Transform Mode.
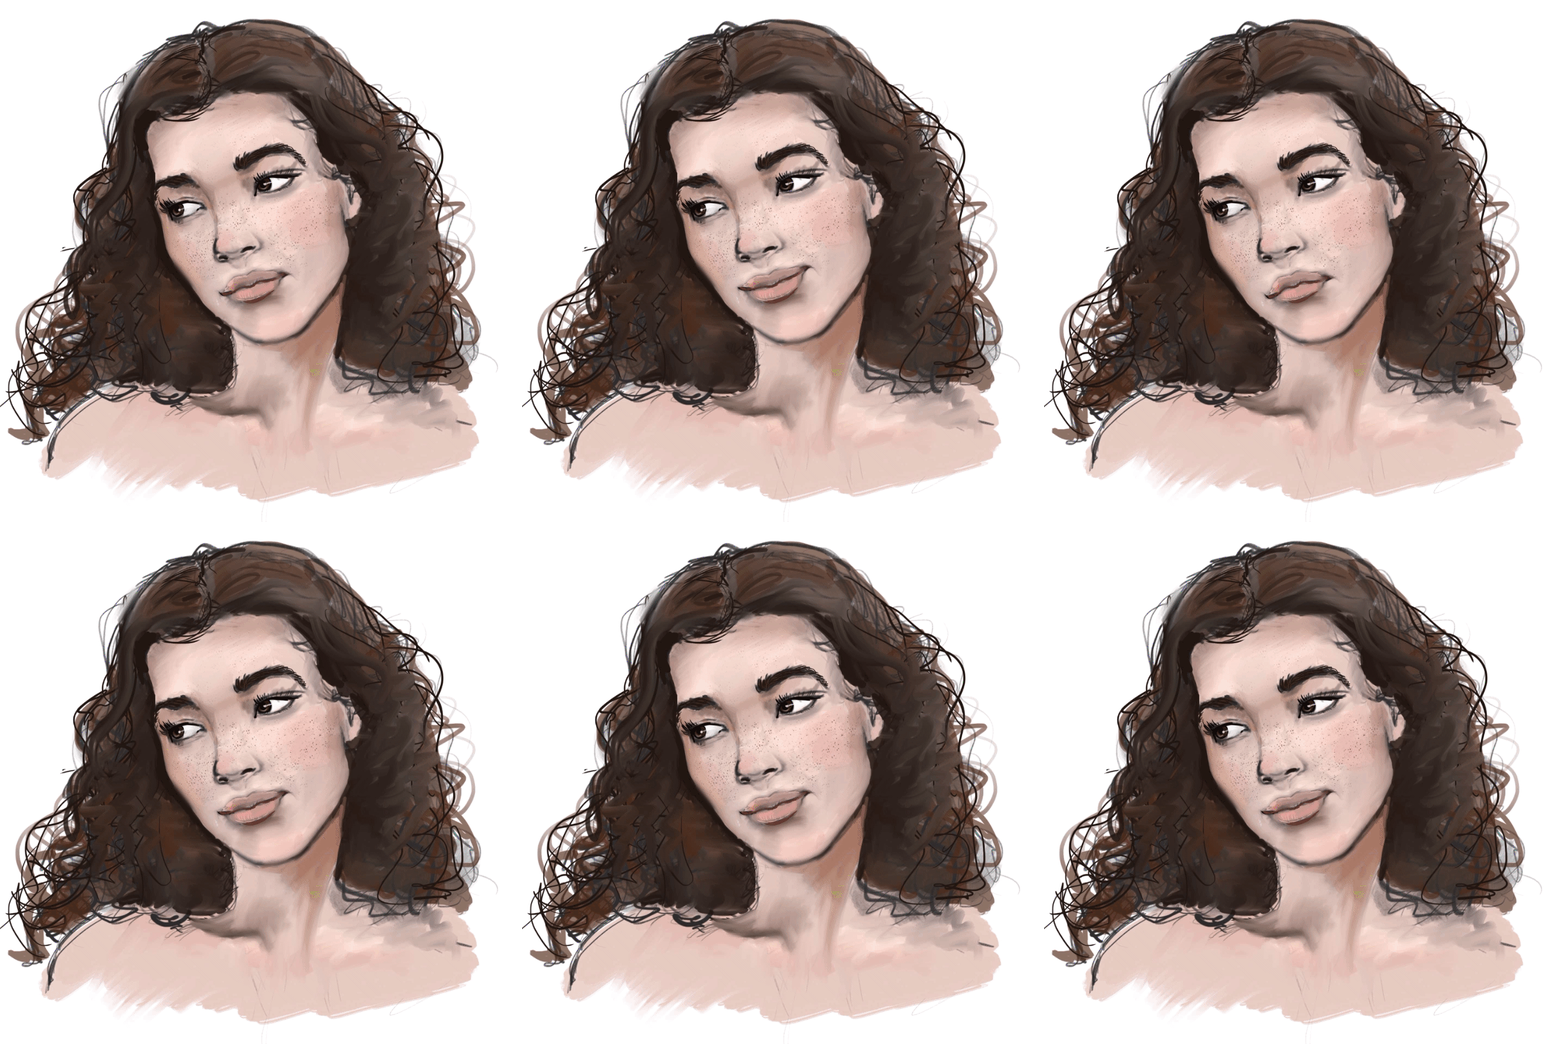
Both Puppet Warp and Liquify are great for image transformation and useful for all designers to learn. Not sure when to use them? Watch the tutorial below for the full comparison and when to use the correct tool.
6. Adjustment Layers
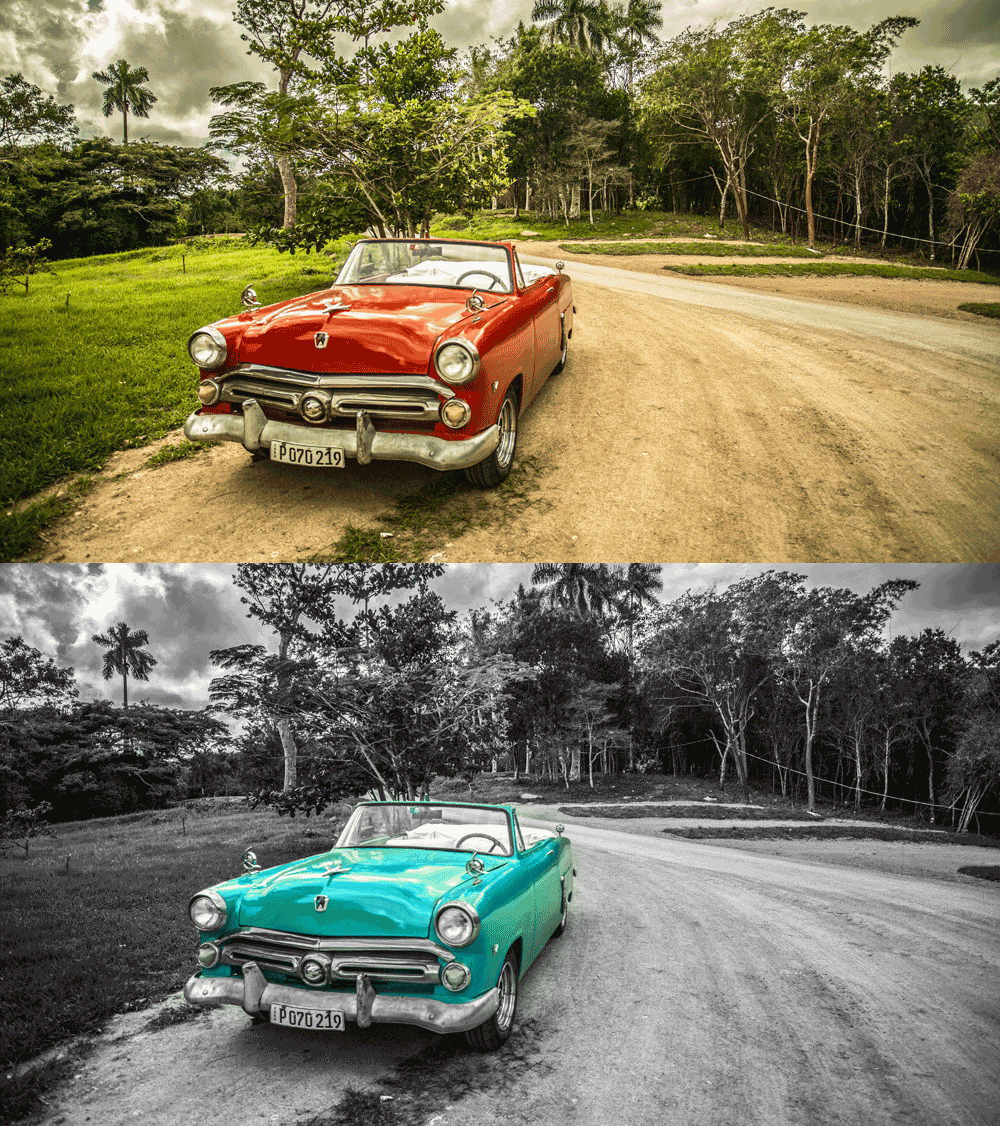
Adjustment Layers in Photoshop are non-destructive image editing tools that allow you to make changes to the colour and tonal values of your image without permanently changing its pixels.
The Adjustments Panel is probably one of our favourite parts of the photo editing tools available in Photoshop. Applying Curves, Levels or
Hue Saturationcan transform your artwork to the next level.
7. Free Transform Tool with enhanced Warp (Cmd/Ctrl T)
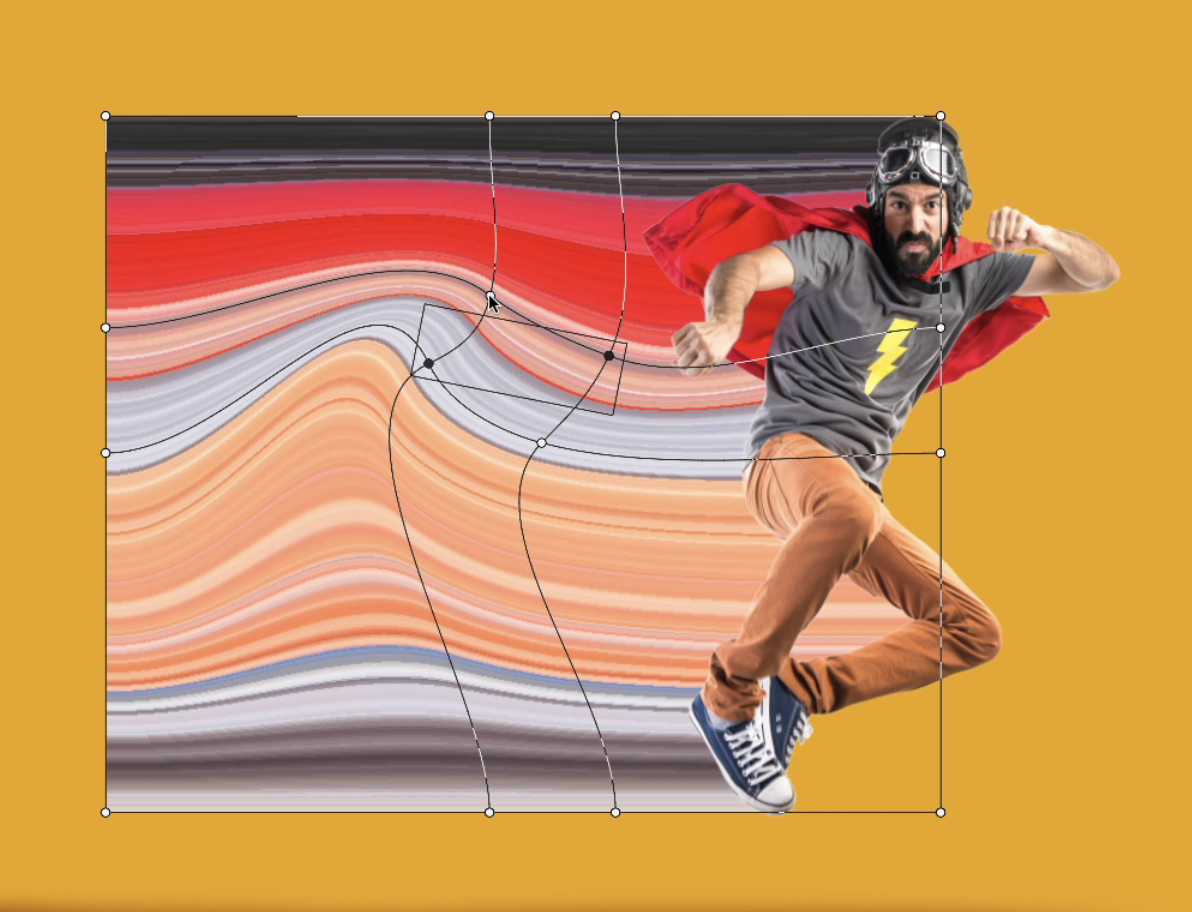
The Warp option finally got a complete revamp and it became much more powerful. In its new state, it became a worthy competitor of the Puppet Warp and Liquify Tool. In a way, it's similar to Illustrator's Gradient Mesh but used for distortion.
The Warp option used to work only with a 3x3 grid, however the new version has presets for 4x4 and 5x5, and custom grids up to 50x50. You can manually place Split points on the mesh and make amends.
We hope you found this post useful and you are feeling excited to start using the techniques in Photoshop.
If you know any awesome techniques we have missed out, let us know in the comments!

LEARN ADOBE APPLICATIONS
from Adobe Certified Instructors and industry professionals
About the author
Shumi Perhiniak
Shumi is a self-taught graphic designer, in 2012 she took one-year sabbatical career break, where she devoted her time studying Photoshop, InDesign and Illustrator. In just after 6 months she started freelancing and within a year become a Certified Photoshop Expert. Over the years she worked both in-house and in agency roles as a retoucher, artworker and moved on from junior to senior design roles.
How to Make a Graphic Design Using Photoshop
Source: https://yesimadesigner.com/7-photoshop-techniques-for-creating-awesome-design/
0 Response to "How to Make a Graphic Design Using Photoshop"
Mag-post ng isang Komento